Monday, June 2, 2014

Strawberry Basil-glazed Chicken Salad

During the summer heat, my hubby lights to eat lighter.  That means more salads.  So, I'm forever on the hunt to make new and interesting salads.  I found some strawberries and basil in the fridge, both needing to be used in the near future.  I thought they'd make a light, refreshing salad dressing.  After a little tweaking-- and puckered faces from the hubby-- I got it right.


Here's what you'll need:

2 c strawberries, stems removed
1/4 c fresh basil leaves
juice of 2 limes
1/2 c olive oil
1/2 tsp salt
2 boneless, skinless chicken breasts
1 head mild lettuce, like butter or bibb, torn
4 asparagus spears, shaved
2 hard boiled eggs, chopped or sliced
2 strips of bacon, cooked and crumbled
1 TBSP roasted pumpkin seeds
1/2 c shaved smoked mozzarella cheese


Make the dressing first.  I used some of it to marinade the meat, so it needed some time.

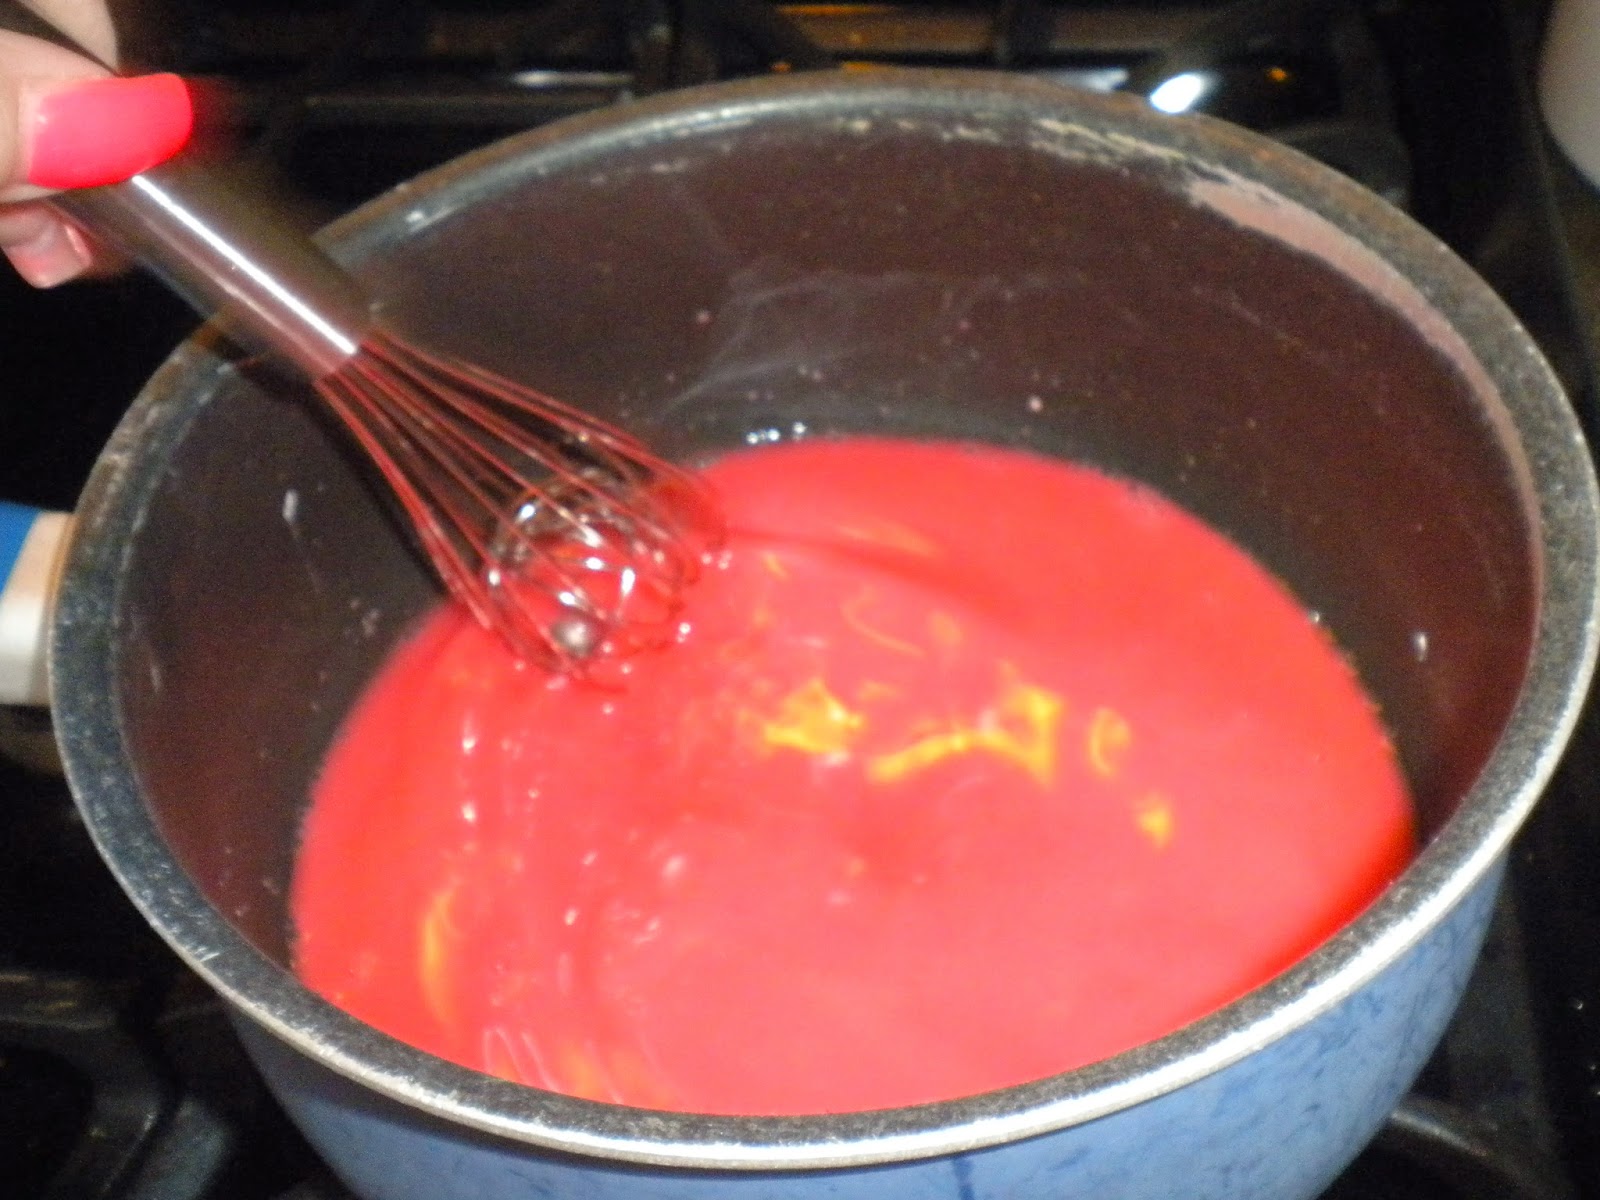
Combine the strawberries, basil, lime juice, salt and olive oil in a blender or food processor.


Pulse until smooth.


If using for a marinade, place 1 cup of the dressing in a bowl.  Put the rest of the dressing in a covered container and refrigerate until ready to use.


Put the chicken in the bowl with the marinading part of the dressing, turning to coat.


Cover with plastic wrap.  Keep in the fridge up to 8 hours.  Longer than that and the lime juice with start to turn to the chicken into mush, and no one wants to eat that.

Preheat a grill or grill pan.  Cook the chicken until the juices run clear, about 10 minutes depending on size. Allow the chicken to rest a few minutes while you assemble the salad.


Arrange the lettuce on 2 dishes.  Use a vegetable peeler to shave the asparagus spears.


Put the asparagus on top of the lettuce, then add the eggs, cheese and pumpkin seeds.


Slice the chicken on the bias and arrange on the salad.  Serve with extra dressing.  Any remaining dressing can be kept in the fridge for up to one week.


Enjoy!


Saturday, May 31, 2014

Mexican-spiced Brownies

I like combining flavors.  Sweet & salty.  Fruit & herbs.  Chocolate & chile. They're subtle flavors that seem to make each other "pop".

I was looking for a treat to send my son who's away at college.  He likes hot things, so I whipped up these chipotle-laced brownies.  They're densely chocolate with just enough of an after-burn to now something else is going on.


Here's what you'll need:

1 1/2 c flour
1 tsp baking powder
1 tsp salt
1/2 tsp cinnamon
1 tsp vanilla
1 12-oz pkg Special Dark chocolate chips
1 c milk chocolate chips
2/3 c vegetable shortening
2 c sugar
4 large eggs
1 TBSP chipotle puree*


To make the chipotle puree you will need 1 can of chipotle peppers in adobo sauce.


Put the peppers and sauce into a blender and puree until smooth. What isn't used in this recipe can be stored in a covered container in the fridge.


Preheat oven to 350.  Lightly grease a 9x13" pan or a brownie pan.  Set aside.

In a bowl, sift together the flour, baking powder, salt and cinnamon.  Set aside.

In a large glass bowl, combine the special dark chocolate chips and the shortening.


Microwave at 30-second intervals, stirring in between, until the chocolate is melted and smooth.


Beat the chocolate mixture into the sugar.


Add the eggs, one at a time, and blend well.  Add the vanilla and chiptole puree.  Mix well.  Stir in the flour mixture, just until blended. Stir in the remaining chocolate chips.  Spread the brownie mixture in the prepared pan (for the brownie pan I used a large cookie scoop).


Bake at 350 30-35 minutes (14 min for the brownie pan), or until toothpick poked in the center comes out clean.

Cool in the pan on a wire rack, completely, before cutting.  Makes 2 doz.

Enjoy!

Friday, May 30, 2014

Double-caffeinated beef Roast

Growing up, we ate a lot of roast beef.  Basically, every Sunday.  Always the same way: sprinkled with a packet of onion soup mix and cooked until it fell apart.  I still love it that way, but it gets a little blah. So I got to thinking about how I could make it differently.  I remembered a strange food we had when we lived in Tennessee, called red-eye gravy.  Basically, it's coffee gravy.  It wasn't one of my favorites, but it gave me a launching point for this roast.  The result?  WAY better than red-eye gravy!


This recipe is a two-step process, but that doesn't mean it's hard.   The first step, brining, is meant to infuse the meat with as much flavor as possible and keep it moist.  The second, a dry rub, reinforces the flavors while also creating a tasty crust on the meat as it cooks.

Here's what you'll need:

For the brine:
4 c brewed coffee, cooled
4 c cold water
1/4 c salt


For the rub:
1/4 c brown sugar
1 1/2 tsp thyme leaves
1 tsp Ancho chile powder
2 TBSP parsley
1 1/2 tsp garlic powder
1/2 tsp black pepper
1/4 c bread crumbs (I used panko)
1/4 c freshly ground coffee (extra-fine, like for espresso)
1 1/2 tsp salt


Begin with the brine.  You'll want to start the brining process in the morning, or even the night before.
Combine the cooled coffee, water and salt in a dish deep enough to cover the roast.  Place a 3-5 pound beef roast (I used eye of round) in the bowl.  Pour the brining liquid over the roast.


Cover and refrigerate at least 8 hours, up to over night.  When you're ready to cook it, remove the roast from the brine.  Pat it dry with paper towels.  Place in a shallow baking dish; set aside.

Preheat oven to 325.

Combine all the ingredients for the rub in a small bowl.  Mix well with a fork, making sure there's no lumps.
Pat the rub all over the surface of the roast.


Bake at 325 until the internal temp registers 140 (for medium), about 1 1/2 hours.


Remove from the oven.  Cover with foil and let rest for 15 minutes.  This allows the juices to redistribute throughout the meat, keeping it moist.  Slice and serve.


Enjoy!

Thursday, May 29, 2014

Fresh Strawberry Pie

Some fresh fruit just tastes better uncooked.  Strawberries are one of them, especially in a pie.  Growing up, I made a couple strawberry pies, but they required baking and usually boiled over.  When I left home, I moved to a place overflowing with blueberry bushes and I learned this simple technique for make fresh berry pies.  It's easy, delicious and stirs up so many happy memories for me.


Here's what you'll need:
1 baked 9-inch pie shell
1 quart strawberries, rinsed and cored
3/4 c sugar
3 TBSP corn starch
1/2 of a 3-oz box strawberry jello
1 c water


Arrange the strawberries in the baked pie crust.  I leave the small berries whole, and cut the larger ones in halves or thirds.


Make sure the berries are evenly distributed, but not packed too tight.  There needs to be room for the glaze to get between the berries.  Otherwise the pie will fall apart when you cut it.


In a small saucepan, combine the sugar, corn starch, jello and water.  Bring to a boil over medium heat, stirring constantly.  Cook until the mixture begins to thicken.  Remove from heat.  Let sit for 15 minutes.  DO NOT refrigerate!


Slowly pour the glaze over the berries in the pie crust, allowing it to seep into the gaps between the berries. Refrigerate until set.


Enjoy!

Wednesday, May 28, 2014

Strawberry Jam

It's strawberry season! I absolutely love fresh-picked strawberries.  For years, my son had a strawberry patch and I was spoiled by the easy access.  Yesterday I picked up a few quarts at a local farm stand. They're small, but so sweet.  I decided making jam was a necessity!  Don't stop reading now.  It's not hard. I'll walk you through the steps and you'll soon be enjoying your own fresh jam, made from the local bounty.


Here's what you'll need:
2 quarts of strawberries, rinsed and stems removed
1 package fruit pectin
7 c sugar


You will need 9 1-cup canning jars with lids and rings.  Put the jars in a large pot.  Fill with enough water to cover them by 1 inch.


Bring to a boil; reduce to a simmer.

Place the lids and rings in a separate pot.  Cover with water.


Bring to a simmer. Keep on low heat.

Pulse strawberries, 1 cup at a time, in a blender.


Do not puree!  Jam should have bits of fruit in it.


Measure out 5 cups of strawberry puree and put it into a large pot.


Measure out the sugar into a separate container.


Stir the box of pectin into the strawberry puree, mixing well.


Bring to a full rolling boil (one that doesn't stop when stirred) over high heat.
Add the sugar, all at once.


Return to a full rolling boil.  Boil 1 minute, stirring constantly.  Remove from heat.

Remove the jars from the boiling water with tongs.


Use a ladle to fill the jars to withing 1/8-inch of the top.


When all the jars are filled use a clean, damp cloth to wipe the rim and clean the threads of any spilled jam.  This is necessary for the seal.


Place a lid and ring on each jar.  Tighten, by hand, just until tight.  Turn each jar upside-down as you put the lids on.


Once all the rings are on, set a timer for 10 minutes.


Turn the jars right side-up.  You will hear the lids "pop" as a seal is made by the vacuum created by the hot jam pulling tightly on the lid.  Allow to sit on the counter 24 hours.  This will allow the jam to set.

Test the seals by pushing down on the top of the lid.  If it pushes in, the seal is not set and you'll need to refrigerate the jam.  Store the sealed jars in a cool, dry, dark place for up to one year.

*This canning method is not suitable for all types of canning, but is totally acceptable for jam.

Enjoy!


Tuesday, May 27, 2014

Pasta with Pancetta and Sweet Corn

I was looking for a pasta dish to use some pancetta I bought at the farmer's market recently.  I rummaged through the fridge and found some corn and Parmesan and this creamy, flavorful dish was born.


Here's what you'll need:
8 oz pancetta (bacon can be substituted, but will be smokier)
2 TBSP Butter
1 TBSP olive oil
1/2 c finely chopped onion
1 ear sweet corn, about 1 cup kernels (can use frozen)
3 cloves garlic, minced
1/2 c half-&-half
3 TBSP Parmesan cheese
salt and pepper
8 oz dry pasta (I used linguine)


Preheat oven to 350.
Line a baking sheet with parchment paper, and arrange the pancetta on top.


Bake until crispy, 10 -12 minutes.


Blot on paper towels, then crumble.  Set aside.

Cook the past to al dente, according to the package directions.

While the pasta is cooking, heat the oil and butter in a large skillet (you need a skillet large enough to toss the pasta with the sauce) over medium heat.  Add the onion; season with salt and pepper.  Cook until the onion begins to soften, about 5 minutes.  Turn heat to low.


Add the corn kernels and garlic, cooking until the corn is warmed through.


Add the half-&half and the Parmesan cheese.  Stir well.  Season with salt and pepper, to taste.


Do not boil, just heat through.  Add 3/4 of the pancetta to the skillet.  Mix well.


When the pasta is cooked, add it to the sauce in the skillet.  Stir well to coat all the noodles.
Serve sprinkled with remaining pancetta.


Makes 2-3 servings.

Enjoy!