Showing posts with label strawberry. Show all posts

Monday, June 2, 2014

Strawberry Basil-glazed Chicken Salad

During the summer heat, my hubby lights to eat lighter.  That means more salads.  So, I'm forever on the hunt to make new and interesting salads.  I found some strawberries and basil in the fridge, both needing to be used in the near future.  I thought they'd make a light, refreshing salad dressing.  After a little tweaking-- and puckered faces from the hubby-- I got it right.


Here's what you'll need:

2 c strawberries, stems removed
1/4 c fresh basil leaves
juice of 2 limes
1/2 c olive oil
1/2 tsp salt
2 boneless, skinless chicken breasts
1 head mild lettuce, like butter or bibb, torn
4 asparagus spears, shaved
2 hard boiled eggs, chopped or sliced
2 strips of bacon, cooked and crumbled
1 TBSP roasted pumpkin seeds
1/2 c shaved smoked mozzarella cheese


Make the dressing first.  I used some of it to marinade the meat, so it needed some time.

Combine the strawberries, basil, lime juice, salt and olive oil in a blender or food processor.


Pulse until smooth.


If using for a marinade, place 1 cup of the dressing in a bowl.  Put the rest of the dressing in a covered container and refrigerate until ready to use.


Put the chicken in the bowl with the marinading part of the dressing, turning to coat.


Cover with plastic wrap.  Keep in the fridge up to 8 hours.  Longer than that and the lime juice with start to turn to the chicken into mush, and no one wants to eat that.

Preheat a grill or grill pan.  Cook the chicken until the juices run clear, about 10 minutes depending on size. Allow the chicken to rest a few minutes while you assemble the salad.


Arrange the lettuce on 2 dishes.  Use a vegetable peeler to shave the asparagus spears.


Put the asparagus on top of the lettuce, then add the eggs, cheese and pumpkin seeds.


Slice the chicken on the bias and arrange on the salad.  Serve with extra dressing.  Any remaining dressing can be kept in the fridge for up to one week.


Enjoy!


Thursday, May 29, 2014

Fresh Strawberry Pie

Some fresh fruit just tastes better uncooked.  Strawberries are one of them, especially in a pie.  Growing up, I made a couple strawberry pies, but they required baking and usually boiled over.  When I left home, I moved to a place overflowing with blueberry bushes and I learned this simple technique for make fresh berry pies.  It's easy, delicious and stirs up so many happy memories for me.


Here's what you'll need:
1 baked 9-inch pie shell
1 quart strawberries, rinsed and cored
3/4 c sugar
3 TBSP corn starch
1/2 of a 3-oz box strawberry jello
1 c water


Arrange the strawberries in the baked pie crust.  I leave the small berries whole, and cut the larger ones in halves or thirds.


Make sure the berries are evenly distributed, but not packed too tight.  There needs to be room for the glaze to get between the berries.  Otherwise the pie will fall apart when you cut it.


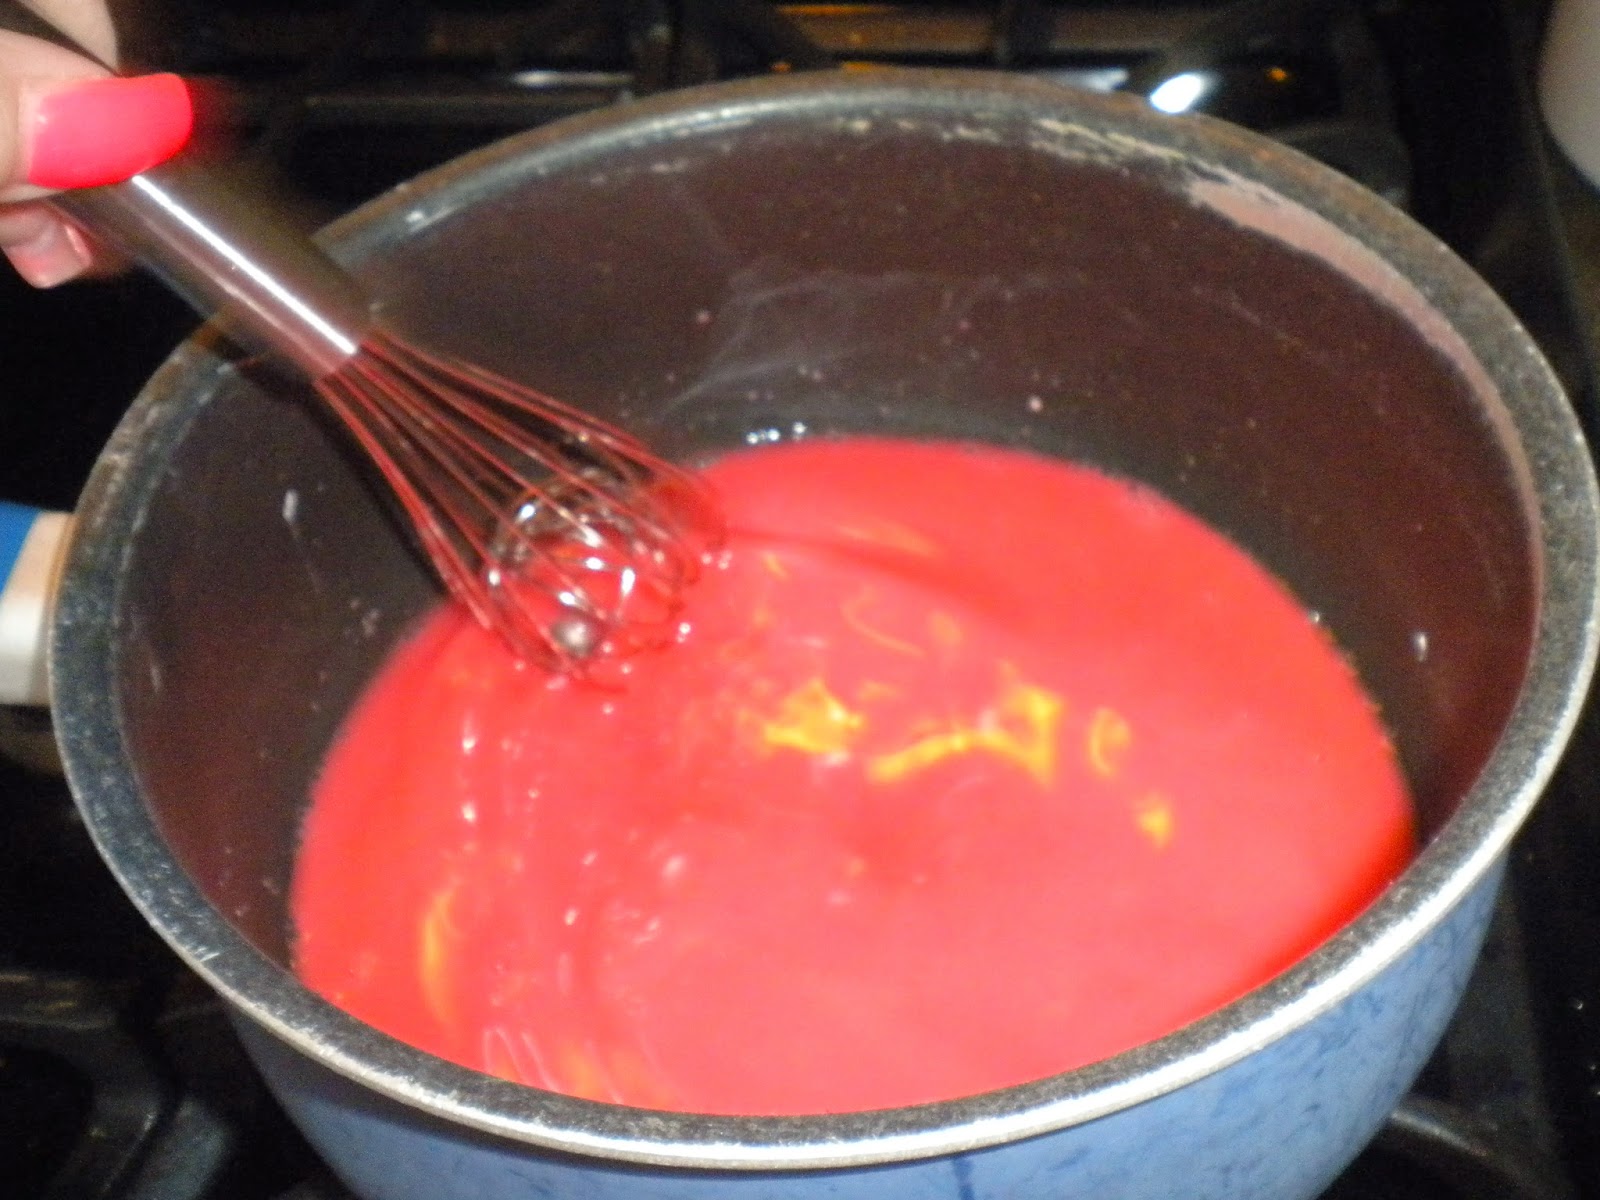
In a small saucepan, combine the sugar, corn starch, jello and water.  Bring to a boil over medium heat, stirring constantly.  Cook until the mixture begins to thicken.  Remove from heat.  Let sit for 15 minutes.  DO NOT refrigerate!


Slowly pour the glaze over the berries in the pie crust, allowing it to seep into the gaps between the berries. Refrigerate until set.


Enjoy!

Wednesday, May 28, 2014

Strawberry Jam

It's strawberry season! I absolutely love fresh-picked strawberries.  For years, my son had a strawberry patch and I was spoiled by the easy access.  Yesterday I picked up a few quarts at a local farm stand. They're small, but so sweet.  I decided making jam was a necessity!  Don't stop reading now.  It's not hard. I'll walk you through the steps and you'll soon be enjoying your own fresh jam, made from the local bounty.


Here's what you'll need:
2 quarts of strawberries, rinsed and stems removed
1 package fruit pectin
7 c sugar


You will need 9 1-cup canning jars with lids and rings.  Put the jars in a large pot.  Fill with enough water to cover them by 1 inch.


Bring to a boil; reduce to a simmer.

Place the lids and rings in a separate pot.  Cover with water.


Bring to a simmer. Keep on low heat.

Pulse strawberries, 1 cup at a time, in a blender.


Do not puree!  Jam should have bits of fruit in it.


Measure out 5 cups of strawberry puree and put it into a large pot.


Measure out the sugar into a separate container.


Stir the box of pectin into the strawberry puree, mixing well.


Bring to a full rolling boil (one that doesn't stop when stirred) over high heat.
Add the sugar, all at once.


Return to a full rolling boil.  Boil 1 minute, stirring constantly.  Remove from heat.

Remove the jars from the boiling water with tongs.


Use a ladle to fill the jars to withing 1/8-inch of the top.


When all the jars are filled use a clean, damp cloth to wipe the rim and clean the threads of any spilled jam.  This is necessary for the seal.


Place a lid and ring on each jar.  Tighten, by hand, just until tight.  Turn each jar upside-down as you put the lids on.


Once all the rings are on, set a timer for 10 minutes.


Turn the jars right side-up.  You will hear the lids "pop" as a seal is made by the vacuum created by the hot jam pulling tightly on the lid.  Allow to sit on the counter 24 hours.  This will allow the jam to set.

Test the seals by pushing down on the top of the lid.  If it pushes in, the seal is not set and you'll need to refrigerate the jam.  Store the sealed jars in a cool, dry, dark place for up to one year.

*This canning method is not suitable for all types of canning, but is totally acceptable for jam.

Enjoy!


Saturday, February 22, 2014

Fruit Pizza

This is a beautiful dessert that looks much harder than it is.  The most time consuming aspect is slicing the fruit!  The first time I made this was for my daughter's baby dedication, almost 22 years ago.  I was telling the hubby today about how nervous I was when I made it then.  I even called myself an "uptight cook". Anyone who knows me knows how silly that description is.  So, don't be uptight.  Just follow the steps and you'll have a dessert to "wow" your guests.


Here's what you'll need:
1 1/2 c powdered sugar
2 1/2 c flour
1 tsp baking soda
1 tsp cream of tartar
1 c butter, room temp
1 tsp vanilla
1 tsp orange juice
1 egg, room temp

1 tub strawberry cream cheese
1 8-oz whipped topping, thawed

Mixed fresh fruit - strawberries, raspberries, blueberries, kiwi (whatever you like)
1/4 c peach or apricot preserves
2 TBSP water

Sift the powder sugar, flour, baking soda and cream of tartar into a mixing bowl.


Add the butter, egg, vanilla and orange juice.


Mix, on low, until the dough comes together.  Mix on medium high, 1 minute, until well blended.  Spoon dough into a bowl.  Cover with plastic wrap.  Refrigerate for 2 hours.


Preheat oven to 375.  Lightly grease a cookie sheet.
Dump the chilled dough onto the cookie sheet.


The dough is pretty sticky, and the heat from your hands will make it worse.  I tried using greased fingers. No go.  I also tried a wet spatula.  That didn't go so well either.  The best way I found was to lay a sheet of parchment paper over the dough and spreading it out with a rolling pin.


Gently peel away the parchment.


Bake at 375 for 11-12 minutes, until the edges are golden and the cookie is set.  Cool completely on a wire rack.


Beat the whipped topping and cream cheese together with a mixer.


Spread evenly over the cooled cookie.


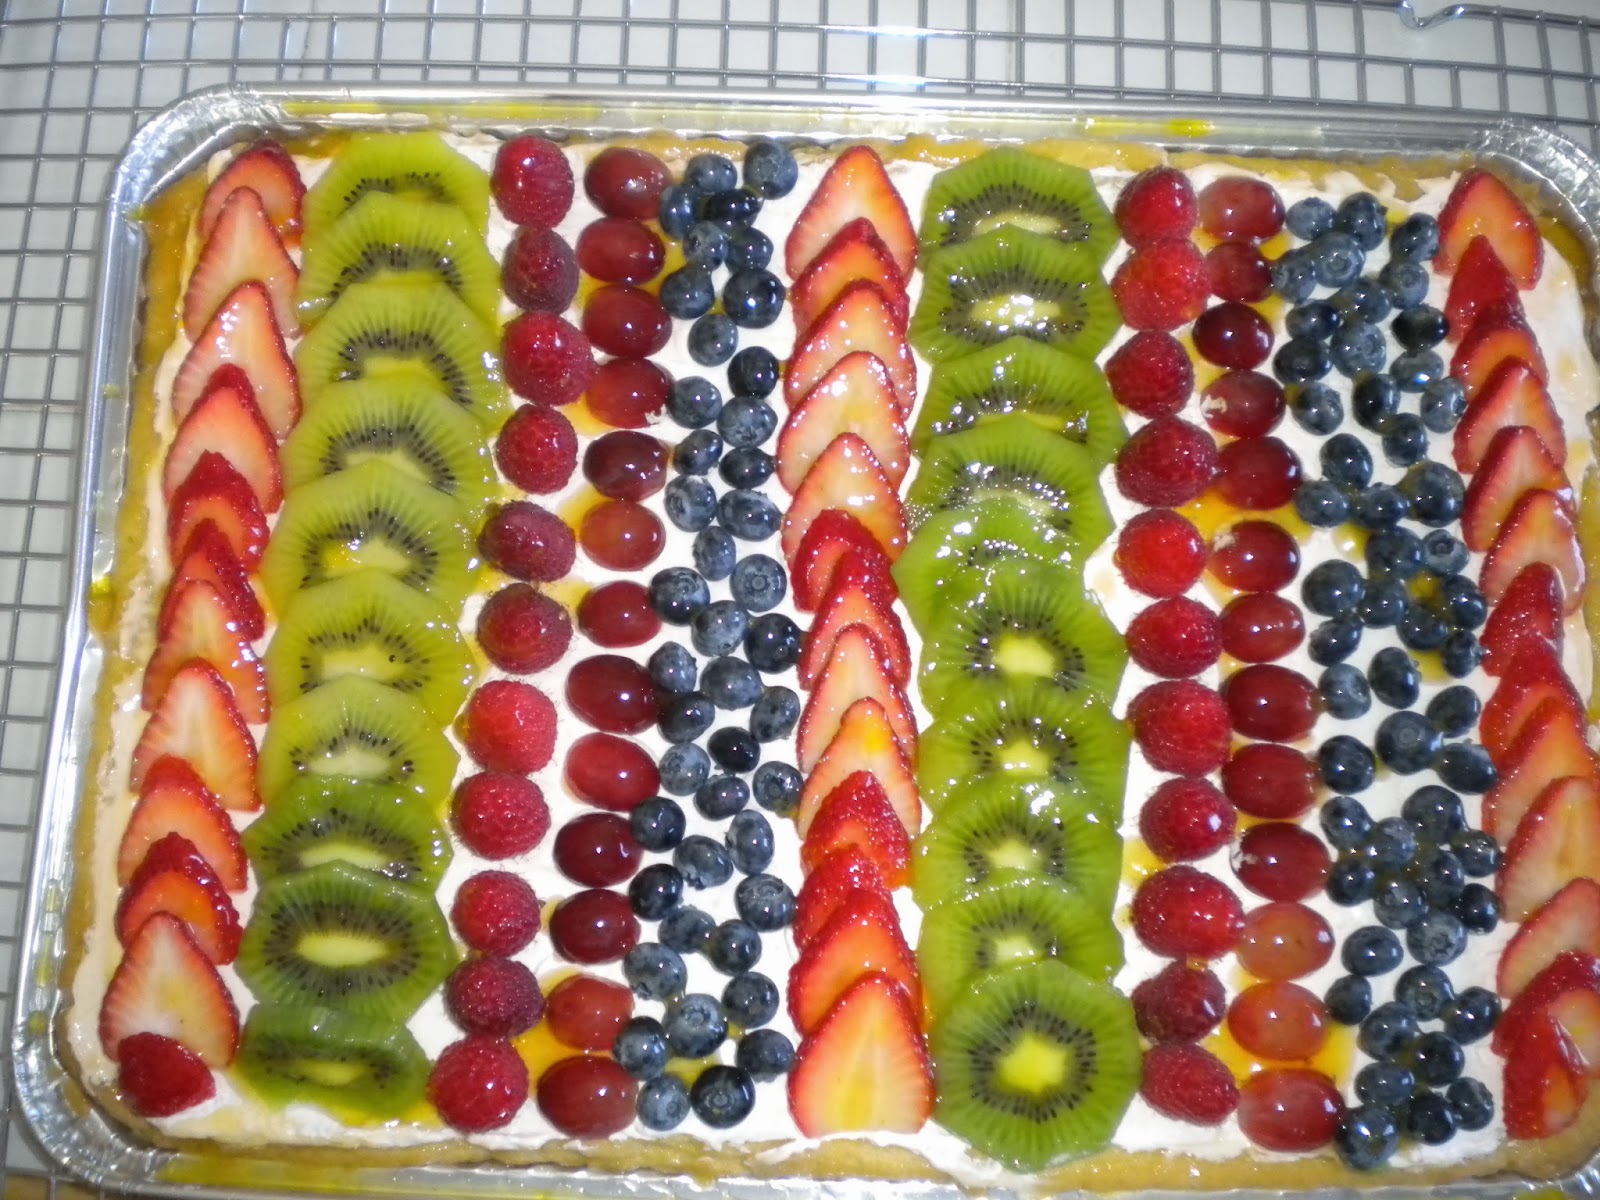
Arrange the fruit, in rows, over the filling.


Combine fruit preserves and water in a microwave-proof bowl.  Heat until melted, about 30 seconds.  Stir until smooth.


Use a pastry brush to spread the melted preserves over the fruit and cookie edges.


This makes the fruit shiny and helps protect it from drying out.


Refrigerate until ready to serve.  Will keep fresh in fridge 1-2 days.

Enjoy!

Friday, February 14, 2014

Peach and Berry Tart

I like tarts.  They're like pie, but thinner, which means I can eat more for the same calories.  Of course, if you add ice cream you lose that advantage, but it's so worth it.


Here's what you'll need:
Crust for a 9-inch pie
3 ripe peaches, peeled and sliced thinly
1/3 c sugar
3/4 c quartered strawberries
1/2 c red raspberries

Preheat oven to 400.

Combine peaches and sugar in a bowl.  Let sit for 10 minutes or so, at room temp, to allow the peaches to release their juice.


A tart pan usually have a removable bottom, which makes it easy to remove the tart from the pan.


They also sell some, usually glass, that do not have a removable bottom.  Those are just served from the pan like you would a pie.

Press your pie crust into the tart pan.  I used a 10-inch pan, which turned out to be too big.  The tart came out far thinner than I wanted.  So, I recommend either an 8 or 9-inch pan.


Arrange half of the peaches over the crust.


Scatter the berries over the peaches, arranging so there is a good mixture and balance of color.


Top with the remaining peaches and about 1/2 of the sugar syrup.


Bake at 400 for 10 minutes.  Reduce the heat to 350 and bake 25-30 minutes more, until the peaches are soft.  Cool, to room temp, on a wire rack.


When you're ready to serve, run a knife around the edge of the tart.  Push the tart up, from the bottom center, and remove the outer frame.


Now, slide a long knife between the tart and the pan, loosening it all the way around.  Then use the knife to help slide the tart onto a platter.  It's best if you do this in one quick motion.  It's less likely to break that way.


Serve with ice cream or whipped cream.  Serves 8-10.

Enjoy!