Showing posts with label bacon. Show all posts

Tuesday, April 7, 2015

Rigatoni with Sun-dried Tomatoes and Bacon Alfredo


Pasta night has become a weekly occurrence at our house.  Even with all the variations available, it can still become a little old, so I'm always looking for new ways to freshen it up.  Tonight I settled on rigatoni with a creamy Alfredo sauce.  You can make your own Alfredo from scratch, but to make it quick and easy on a work night I used a jarred variety.  I had dinner on the table in under 30 minutes.

Here's what you'll need:

1/2 pkg Rigatoni pasta
5 strips of bacon
4-5 slices of sun-dried tomato, in oil
1 jar garlic Alfredo
1/4 tsp black pepper


Cook pasta according to package directions.  While it cooks, dice the bacon and brown it in a large saute pan.


Coarsely chop the tomatoes and set aside.


When the bacon is crispy, place on paper towels to dry. Drain the grease, leaving about 1 TBSP in the pan.

Add 1 TBSP butter, olive oil or oil from the tomatoes to the bacon drippings.  Add the tomatoes and cook until they soften a little.  Stir in the pepper and jarred Alfredo sauce.  I used the garlic kind to give it an extra kick of flavor.


Warm gently, but don't boil.

When the pasta is cooked, use a slotted spoon to transfer it into the skilled with the sauce.


Gently stir until the pasta is all coated with the sauce.


Fold in the bacon and serve.


Serves 4.

Enjoy!

Friday, November 14, 2014

Brussels Sprouts with Bacon and Garlic


I was having friends over for dinner tonight and needed a vegetable.  As I walked through the farmer's market, I thought I might be out of luck until I came across these baby Brussels sprouts. They're SO cute!  I decided a quick saute would be best, and I was right.  They were so delicious and took almost no time at all.

Here's what you'll need:
2 slices bacon, diced
1 qt baby Brussels sprouts
2 TBSP water
1 TBSP olive oil
1 clove garlic, minced
salt and pepper

Brown bacon in skillet over medium heat until crispy.


Remove the bacon from the pan, keeping the drippings in the pan.  Add the Brussels sprouts and toss until they're all coated in the bacon juices.  Add the water.  Cover and let steam 1-2 minutes. Uncover.

Add the oil and return the bacon to the skillet.


Continue cooking, stirring occasionally, until the sprouts soften and brown slightly.  Salt and pepper to taste.  Add the garlic and cook 1 minute more.


Enjoy!


Saturday, November 30, 2013

Bacon-wrapped Dates Stuffed with Chorizo

We're coming into the height of the entertaining season, and appetizers are a great way to feed people.  I usually try to have equal amounts of hot and cold starters.  These stuffed dates take a little time, but each step is easy, and well worth it.


Here's what you'll need:
12 Medjool dates, pitted
1/2 lb smoked Gouda, cut into 12 logs
3 links fresh chorizo, skins removed
6 slices bacon, cut in half
1/4 c maple syrup
2 TBLS balsamic vinegar

Preheat oven to 400.

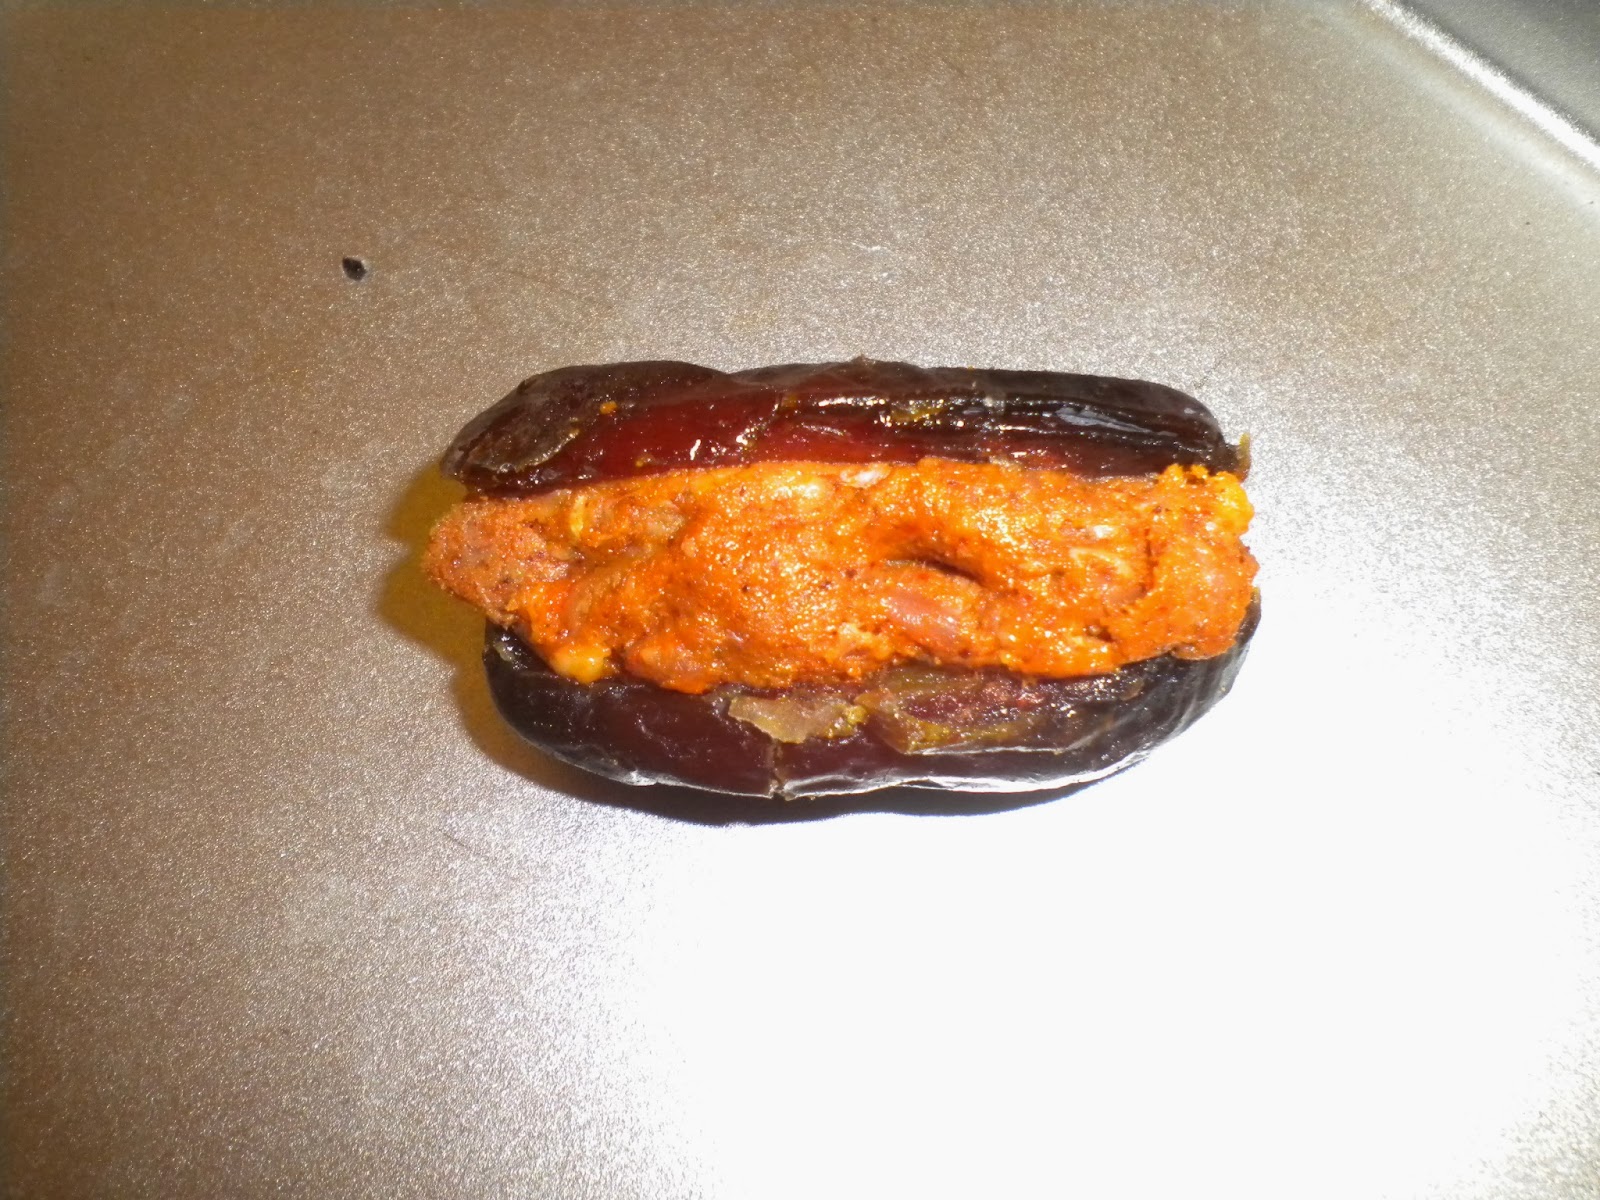
Make a slice in each date, so you can open it.  Flatten it out.


Cut each link of chorizo into quarters.  Roll each piece around a log of cheese.


Stuff the cheese-chorizo log into the date.  Close the date around the filling and squeeze to secure.


Wrap one half-slice of bacon around each date.  Place on cookie sheet with the loose end of the bacon down on the sheet.


 Bake at 400 for 7-8 minutes, until bacon begins to crisp.  Turn over and bake 7-8 minutes longer.

Combine the maple syrup and the vinegar in a small dish.


When the bacon is crisp, remove the dates from the oven.  Brush them with the syrup mixture.  Bake 2-3 minutes more.


Enjoy!

Sunday, November 10, 2013

Bacon and Cheddar Quiche

Quiche is a delicious, hearty breakfast or a light dinner.  I love how versatile it is!  Just add whatever you have around: broccoli, peppers, bacon, sausage.  The possibilities are endless.  This one is basic, made with two items I always have on hand: bacon and cheddar cheese.


Here's what you'll need:
unbaked 9 inch pie crust
5 slices bacon
2 c cheddar cheese, grated (I used extra sharp)
4 eggs
1 c heavy cream
1 c milk (OR substitute 2 c half-n-half for the milk AND the cream)
1/2 tsp salt
1/4 tsp black pepper

Preheat oven to 425.

Chop bacon.  Cook in a heavy skillet until crisp.  Drain on paper towels.


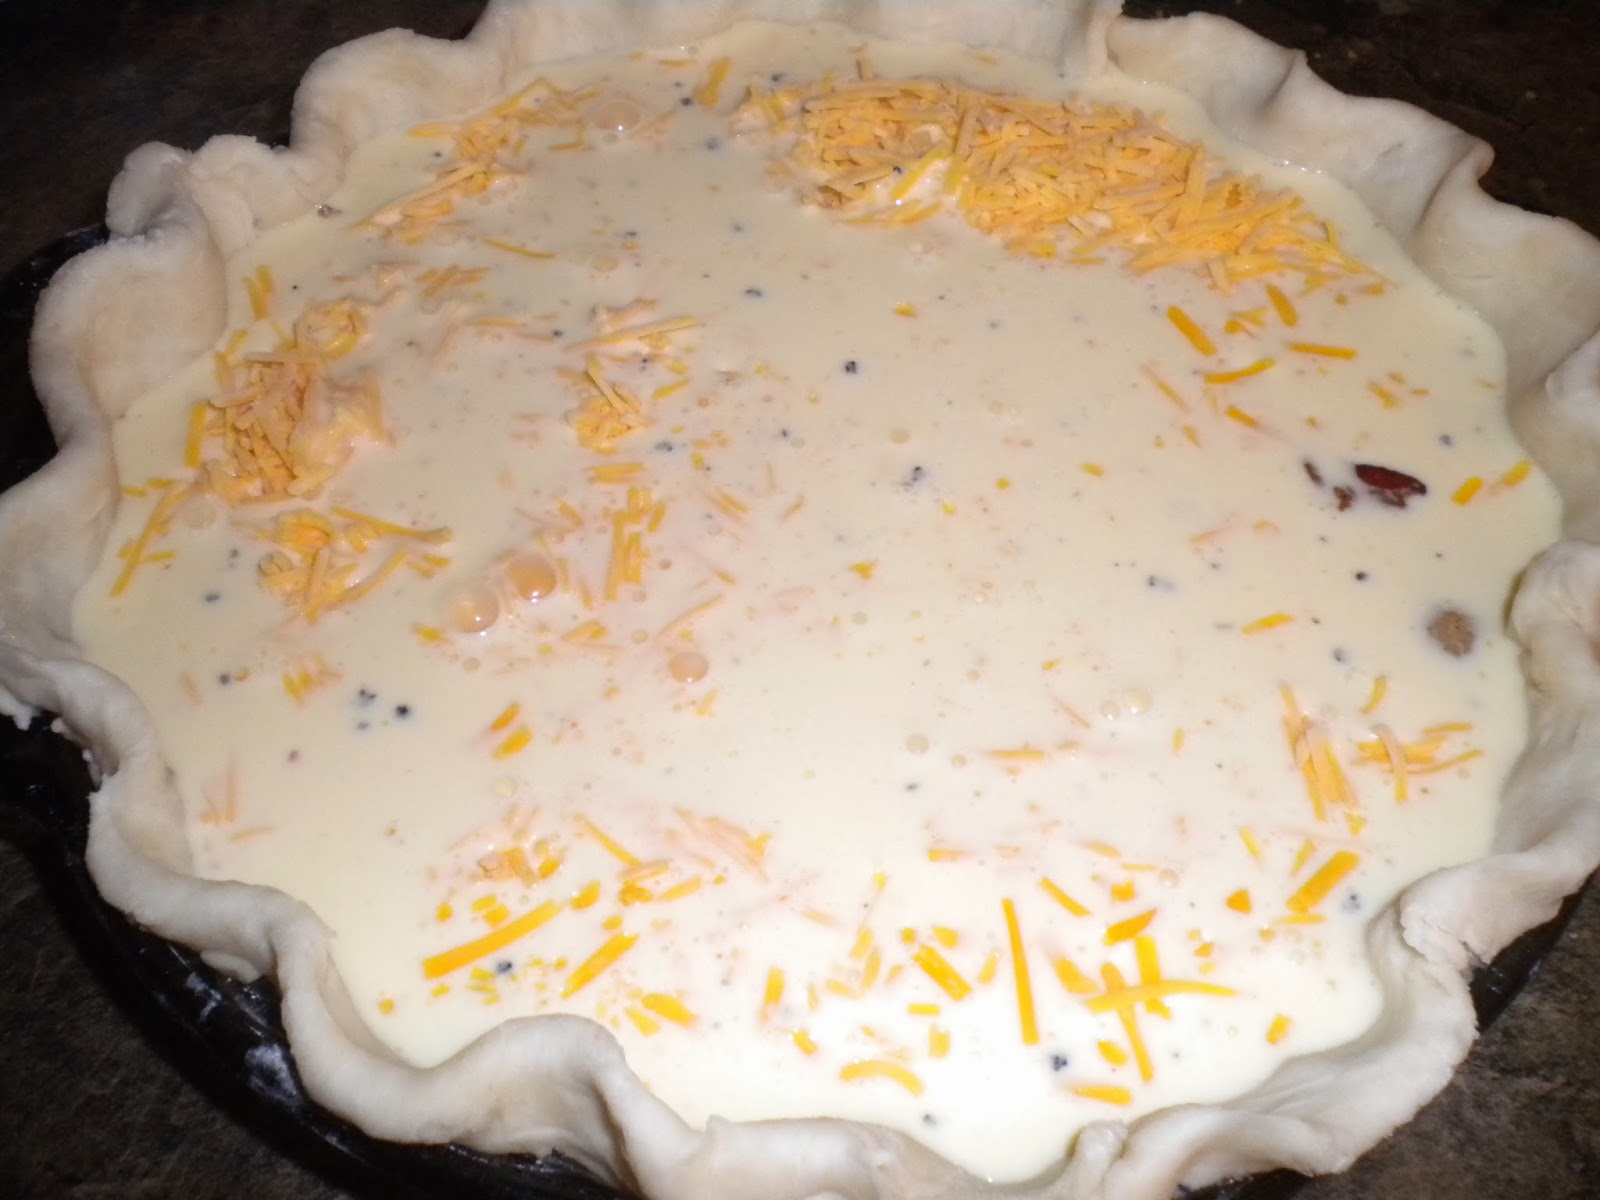
Sprinkle bacon in the bottom of the pie crust.  Top with the cheese.  Set aside.


In a medium mixing bowl, whisk together the eggs, cream, milk and seasonings.


Pour egg mixture over the cheese and bacon in the pie shell.


Bake at 425 for 15 minutes.  Reduce oven to 325.  Bake for another 30 minutes or so, until the center is set.


Let set 10 minutes before cutting.  This will let the cheese cool down and hold it's shape.

Enjoy!

Saturday, October 19, 2013

Shepherd's Pie with Bacon and Garlic Mashed Potatoes

Shepherd's Pie is one of those dishes that warms you all the way down to your toes.  It's satisfying and homey, but still pretty easy to make.  I LOVE the basic version with meat, gravy and mashed potatoes, but sometimes I just need to tweak things a little.  The addition of bacon and cheddar add a richness to the meat portion, and the garlic mashed potatoes... well, what else is there to say?


Here's what you'll need:
4 slices bacon, chopped, browned and drained
1 onion, chopped
1 lb lean ground beef (I used 96% fat free)
1 tsp thyme
1/2 tsp salt
1/2 tsp pepper
2 TBSP flour
1 tsp Worcestershire sauce
2 - 2 1/2 c beef broth
1 c frozen peas and carrots
1 c cheddar cheese, grated
3 c mashed potatoes (boil 5-6 lg potatoes in salted water until fork tender.  Mash with 1 TBSP minced garlic, 4 TBSP butter, 1/3 c sour cream, 1/2 tsp salt, and 1/4 tsp pepper)

Preheat oven to 375.  Grease a 10" casserole dish.

Brown the bacon in a large skillet.  Remove to paper towels to drain, keeping most of the drippings in the pan.  Add the onion, and saute until tender.  (If you try to cook the onions with the bacon, the bacon will not get crispy.  I'm not sure why; it's just been my experience.)  Add the beef to the onions, cooking until brown. Season with salt and pepper and thyme.  Sprinkle with the flour, then cook 1-2 minutes to get rid of the raw flour taste. This will help thicken the gravy.

 
Add Worcestershire sauce and 2 c beef broth; bring to a boil.  If gravy is too thick, add extra 1/2 c beef broth.  Boil 1 minute.  Add bacon back into the skillet.


Add frozen peas and carrots.  Stir well.


Spread meat mixture in greased casserole dish.  Sprinkle with the shredded cheese.


Top with the mashed potatoes, spreading to the edges of the dish, completely covering the meat mixture.


Bake at 375 for 20-30 minutes, until the top is brown and the gravy is bubbling around the edges.


Let set 10 minutes before serving.  This will allow the cheese to cool a little and also help the gravy to thicken.

Enjoy!


Thursday, October 3, 2013

Loaded Mashed Potatoes

Potatoes are an American staple, but mashed potatoes top the list.  There's just something about their silky texture and buttery flavor evoke memories of holidays and family times.  Peeling potatoes is labor of love, making me feel like someone spent time on me.  Now people use boxed, or even frozen, mashed potatoes but it's just not the same.

I think one reason people don't like to make potatoes is that they don't know how to measure.  Generally, for mashed potatoes, you need to prepare 1 1/2 medium-sized potatoes per person.  This allows for a generous serving plus a little left over.

These loaded potatoes are a family favorite in our house.  They have taken over at holiday buffets, and sometimes I make them on a weeknight, just to let my loved ones know I was thinking about them and wanted to do something special.


Here's what you'll need for 4 people:
6 medium-sized potatoes, peeled and cubed
4 TBSP butter, room temp
1/2 c sour cream, room temp
1/2 c shredded cheddar cheese
salt and pepper, to taste
1 tsp minced garlic
4 slices bacon, cooked and crumbled

Boil potatoes in salted water until tender when you poke them with a fork.  Drain thoroughly.


In a mixing bowl, combine the butter, sour cream, cheese and garlic.


Add the drained potatoes and beat until all potatoes are mashed and no lumps remain.  Add salt and pepper to taste.

To serve, sprinkle the cooked bacon on top.


Enjoy!

Monday, September 2, 2013

Making Bacon

My son chastised me when he saw me taking pictures of my bacon this morning.  "You're going to blog about cooking bacon?"  Well, no, I always take pictures of my bacon, I thought to myself.  "Yes," is what I said to him.  You see, making bacon isn't as easy as some people think.  Have you ever had a piece of bacon brought to you that was flaccid and still pink?  Unappetizing, in my opinion.  Or the bacon that is just this side of being cremated?  I like well-done bacon, but that's not it.  So, let's go through the basics, and you'll have perfectly cooked bacon every time.

I use a griddle that fits over tow burners of my stove.  If you don't have one, a cast iron or other heavy skillet will do.  Lay out the bacon on the COLD skillet.  It's important to have the skillet be cold so that it heats up with the bacon. This is what keeps the bacon in a straight strip instead of being all curled up.  The curling is the result of too much heat, too fast.


Turn your burner to medium low, allowing the bacon to gently cook.  It will begin to sizzle, and also shrivel, as it cooks.  Resist the urge to turn it!  When the bacon is ready to be turned, it will release itself from the pan. I use bamboo tongs, and I just turn it over, rearranging if necessary to avoid hot spots your stove might have.

Continue to cook the bacon on this side until it releases all that bacony goodness (aka rendering it's fat).  The bacon should hold it's shape when you pick it up with the tongs.  If you like it crisper, let it on the burner a few minutes longer, until it's completely stiff.  Place the cooked bacon on a paper towel-lined baking sheet to allow the excess grease to drain off.


Now your bacon is ready for hamburgers, eggs, club sandwiches.  The possibilities are endless!  When the pan cools pour the bacon juice (yes, that's what I said. Juice.) into a small container to be used for future flavoring of potatoes, soups, etc.  There's always some in my fridge!
Enjoy!